 ES
ES RU
RUHow To Repair Hydraulic Cylinder
Hydraulic cylinders are crucial components in various industries, powering heavy machinery and equipment. Over time, wear and tear can take a toll on these cylinders, leading to performance issues and potential downtime. Knowing how to repair hydraulic cylinders is a valuable skill that can save both time and money. In this comprehensive guide, we'll walk you through the step-by-step process of repairing hydraulic cylinders, ensuring they function optimally.
Preparing to Repair a Hydraulic Cylinder
- Before removing the cylinder for repair, clean the unit and disconnect the hoses and plug ports.
- Once removed, open the cylinder ports and drain the hydraulic fluid from the cylinder.
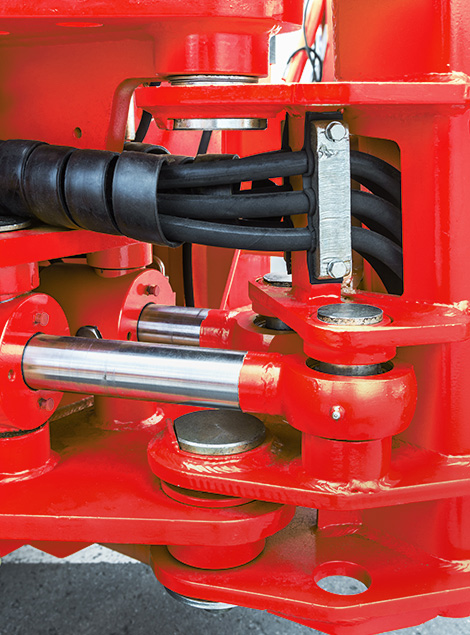
- Examine the cylinder type. Check that you have the right tools for the job.
The important thing is to ensure which type of hydraulic cylinder you need to repair:


A Wire Ring Cylinder Repair
Step 1: Retract the rod assembly and remove the external steel wire ring.

Step2: Using a mallet and punch, push the head into the cylinder tube until the internal groove is exposed and the internal wire ring can be removed.


(Important: It is critical to thoroughly inspect the interior surface of the cylinder tube, as well as the piston and rod. These and other polished parts must be visually inspected for burrs, scratches, or scuffs.)
Step 3: To replace the cylinder seal, straighten the plastic removal ring and insert it into the internal groove, feathered end first, into the tube. Ensure the ring is fully in the groove before removing the rod to avoid it getting trapped between the tube and head. If the ring isn't properly placed, remove and retry.

Step 4: Extending the rod to pull the head from the tube and fully removing the rod. Avoid forcing it out to prevent jamming and cylinder damage. After removing the rod, take out the removal ring, followed by the locknut, piston, and head/gland. This exposes the seals for inspection and replacement.

Step 5: Remove plastic removal ring from the cylinder tube.


(It is important to note that during the head/gland reassembly process, you should leave the outer o-ring dual seal loose on the rod so that it can be installed later. The cylinder tube and piston seals should now be lubricated with hydraulic oil before inserting the piston into the tube. Tap the cylinder head in the tube until the band clamp slides over and the wire ring is inside the tube. )
Step 6: Tap the cylinder head in the tube until the band clamp slides over and the wire ring is inside the tube.
Step 7:Loosen and remove the clamp.
Step 8:Now the o-ring dual seal can be installed.

Step 9 :Tap the head until its end is perfectly aligned and level with the tube's end.

(This crucial step ensures the inner wire ring securely snaps into the cylinder's internal groove. Without this, the head and rod assembly may detach from the tube under pressure.)
Step 10 : Pulling the rod out so the external wire ring groove (in the cylinder head) is exposed so the ring can be installed.

How to repair set screw /locking ring threaded head hydraulic cylinder in another blog .